How To Install Trone Freestanding Tub
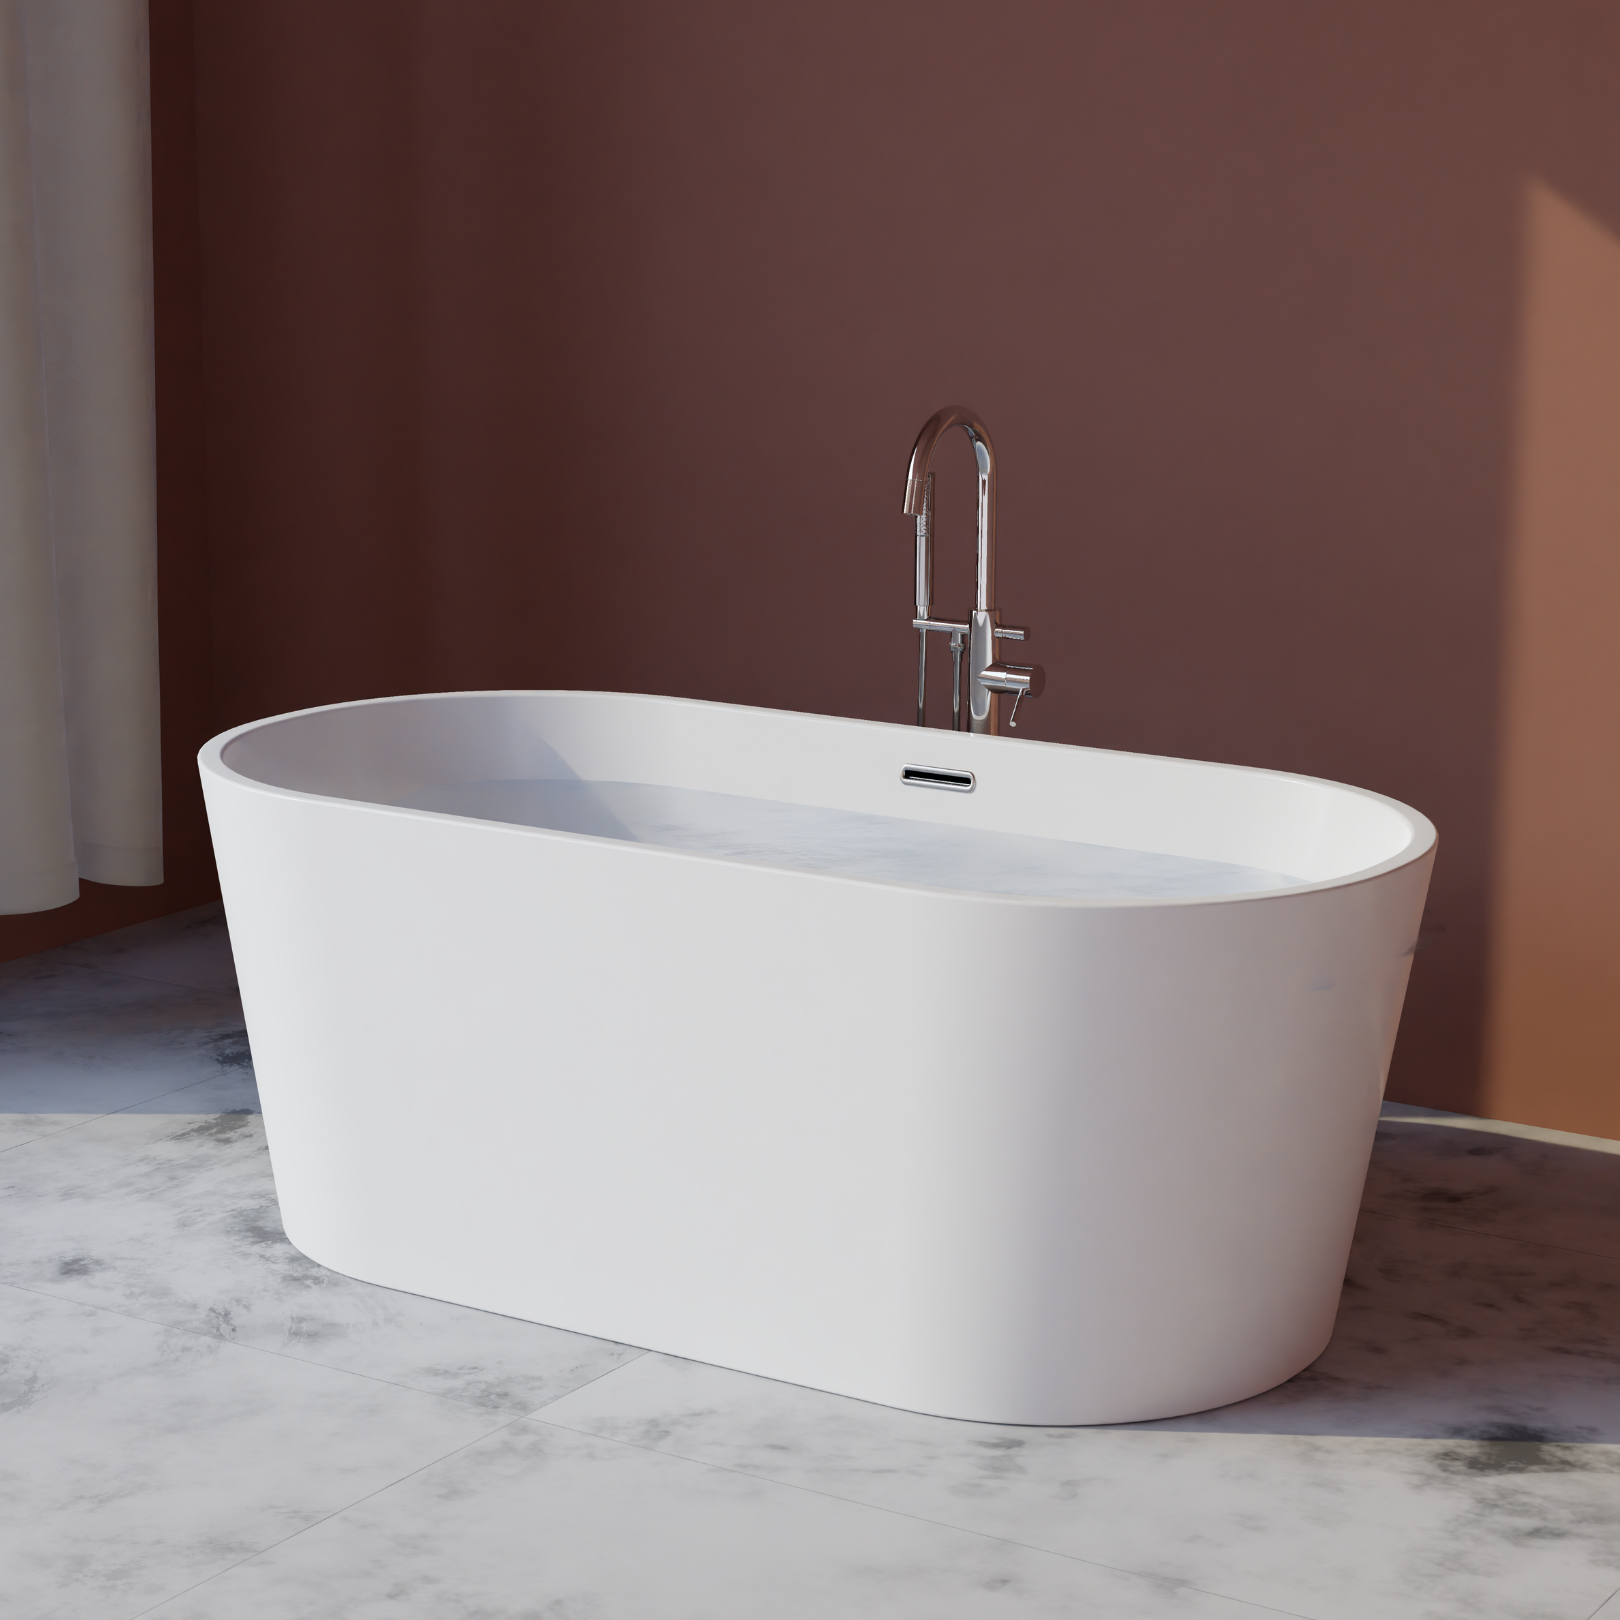
Trone freestanding tubs are a great way to add luxury to your bathroom. With their sleek lines and contemporary designs, these tubs will undoubtedly become the focal point of any bathroom.

Some may think the installation process is too complicated, but that couldn't be further from the truth. Installation of a freestanding bathtub is quite simple. Anyone with basic DIY skills can do this with the right tools and materials.
Tools & Materials Needed
- Level
- Pipe Wrench
- Slip Joint Pliers
- Screw Driver
- Caulking Gun
- Plumber's Putty
- Silicone Sealant
- Drop Cloth
Installation Process
- Place your freestanding tub on a mat or protective blanket and ensure that the legs align with the base of the tub. It will prevent damage to your bathtub.
- For best results, make sure that the tub is sitting flat. Adjust the legs accordingly if needed.
- Position the waste connection correctly. The perfect way is to ensure that the end of the pipe closest to the tub wall is slightly lower than the other end. It will allow the water to flow away from the tub, preventing blockages or leaks.
- Trace the outline of your tub on the wall and mark out any pipes, wiring, or other obstructions. The guide can help you plan your installation correctly.
- Apply a thick bead of silicone sealant following the outline of the tub. It acts as a seal to prevent leaks and dampness.
- Set the tab in the marked area and let the silicone dry for 24 hours.
Post-Installation
Once the freestanding tub is installed, removing all construction debris from the area is essential. Use a wooden popsicle stick to remove any tile grout that may have been left behind during installation. Avoid using wire brushes or any metal implement on the surface as this may cause scratches and other damages. Lastly, use warm water and detergent to clean the area.
You can find the online installation guide here or refer to the manual in the box for more details.


