

Installation Guide For Trone Chiaro Toilet
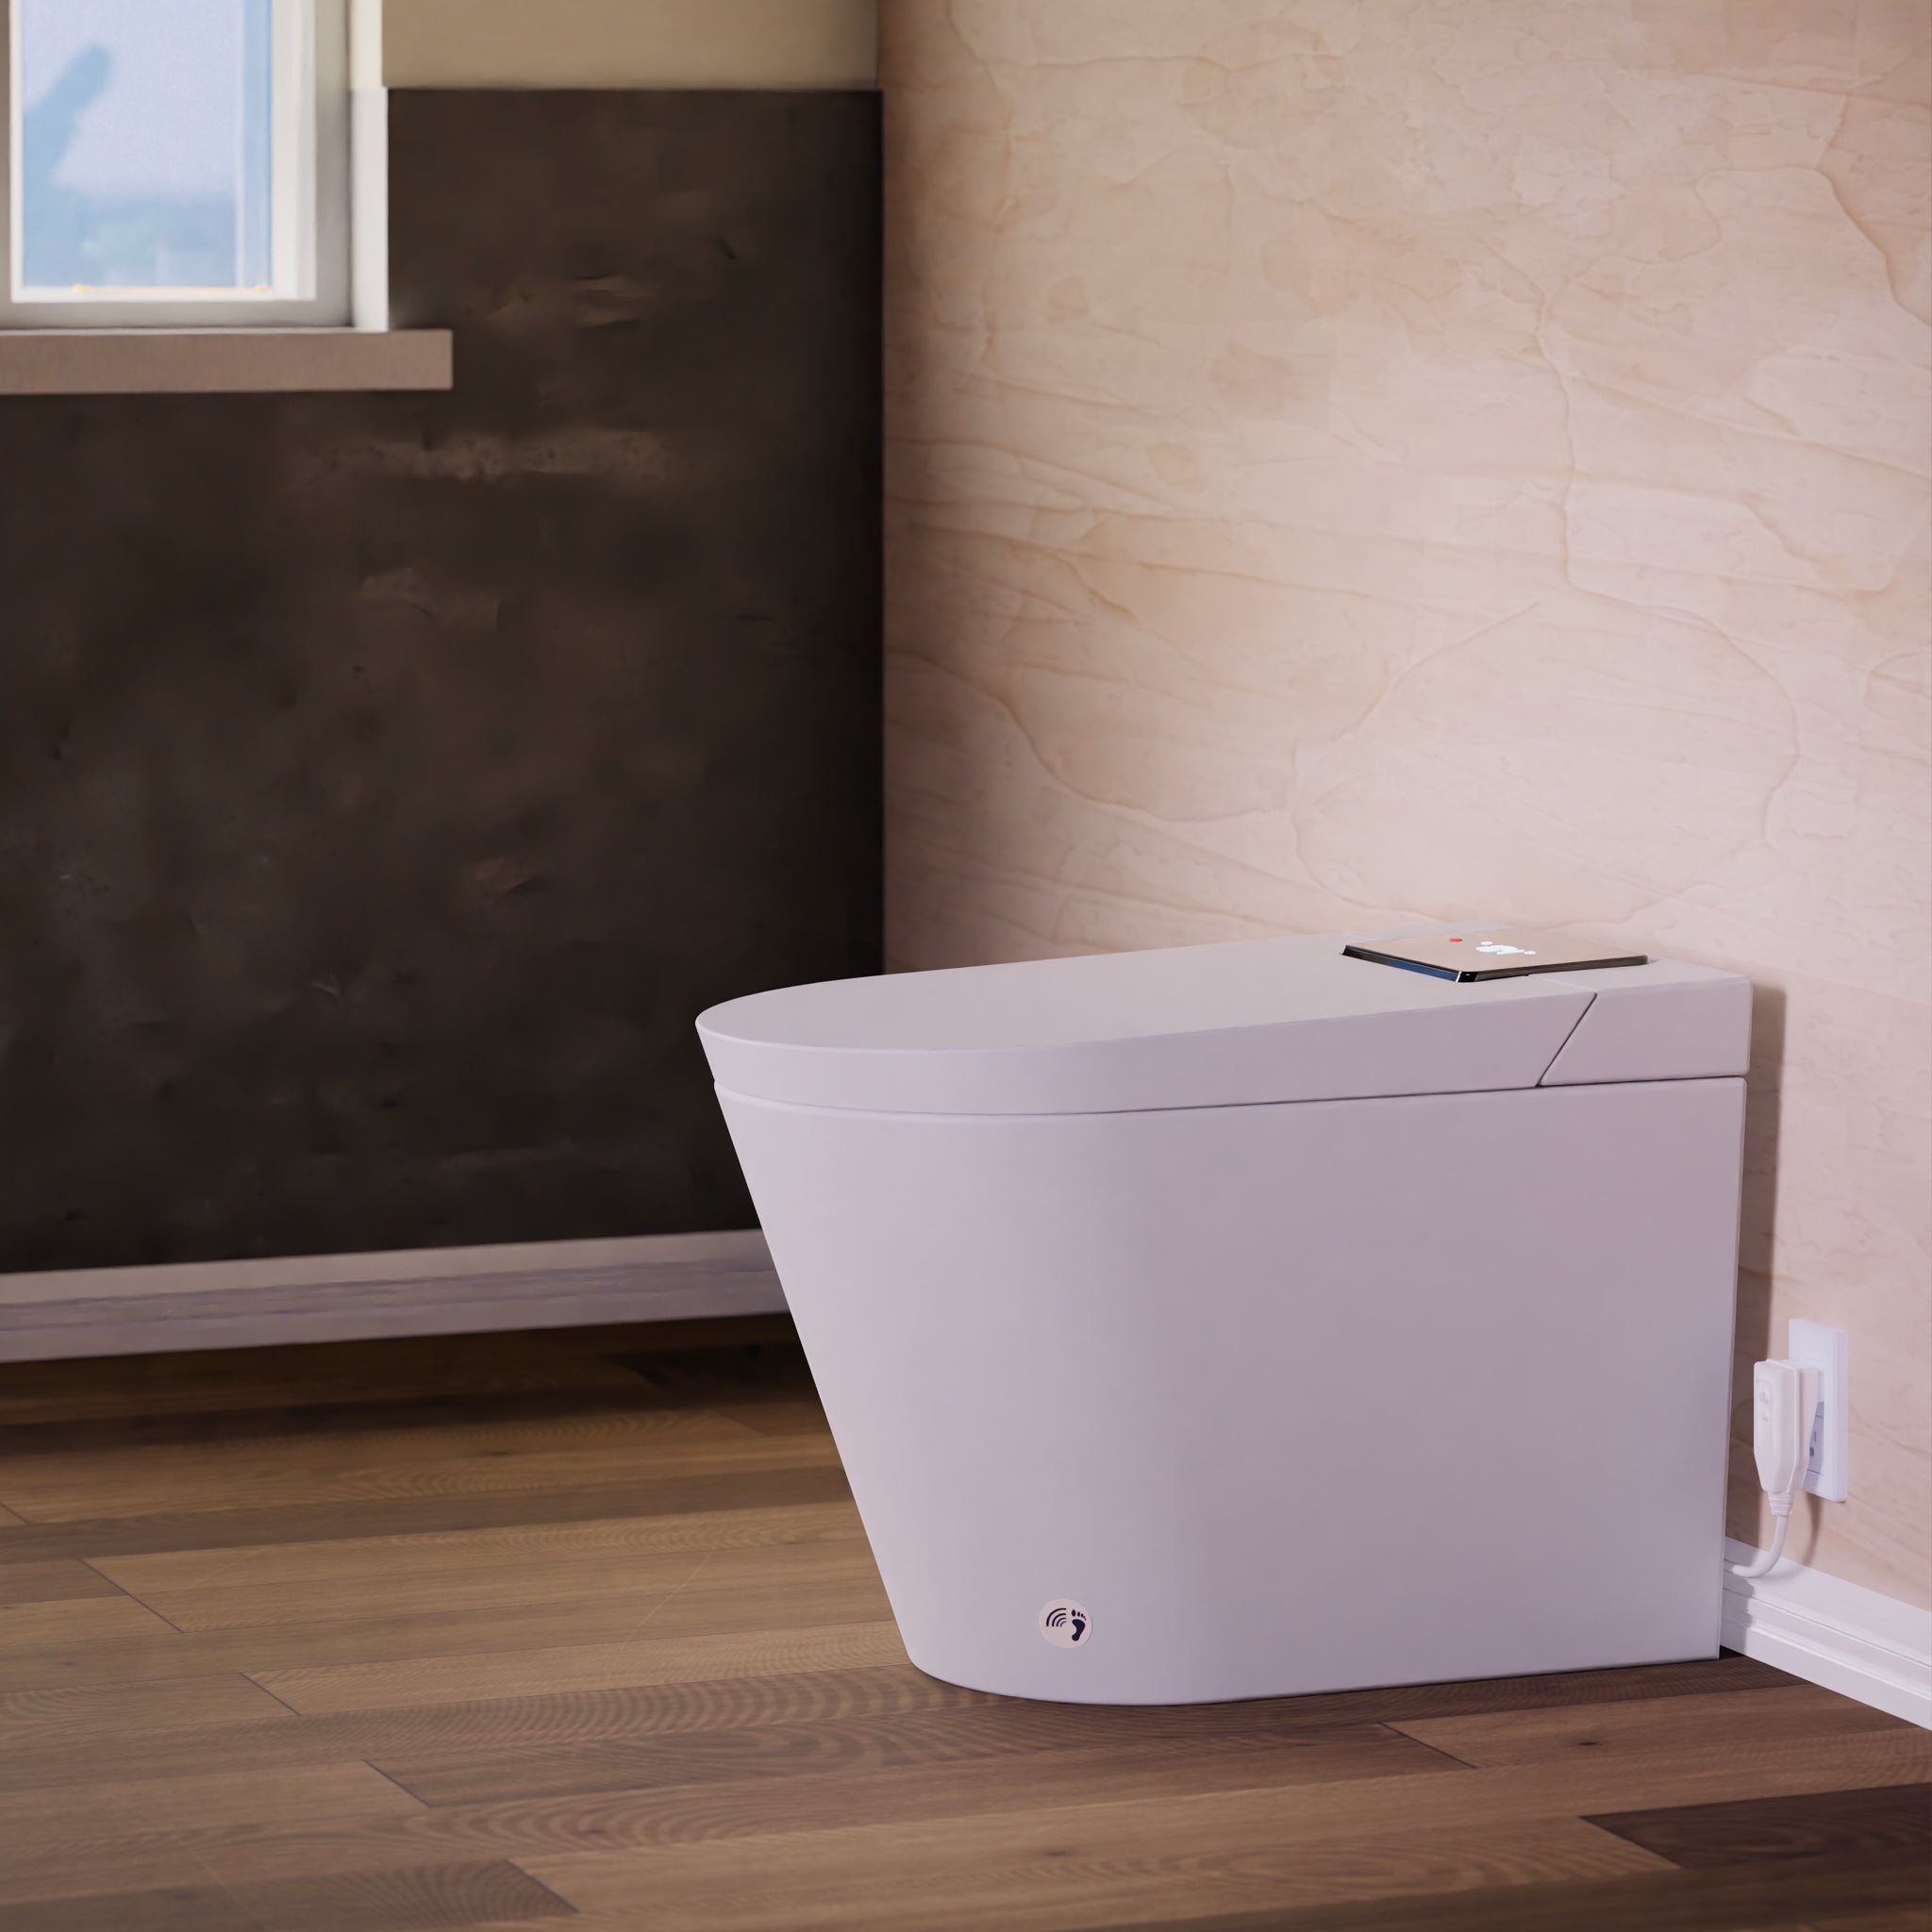
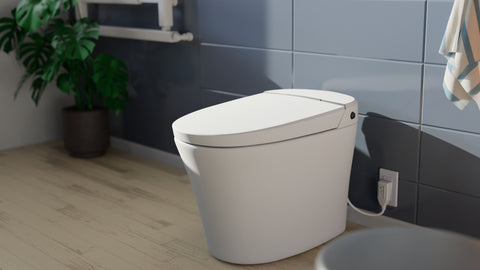
The Trone Chiaro Toilet is the perfect choice for upgrading their bathroom with a stylish and efficient toilet. With classic design and high-quality materials, this luxury toilet is an ideal addition that will last many years.
The easy-to-install guide below will help you get your new Trone Chiaro Toilet up and running quickly.
Installation Precaution
The minimum dynamic working water pressure required for Chiaro installation is 0.09MaP or more (15.0L/min or more). Failure to meet this pressure will not achieve the best flushing effect. Suppose you do not have access to a water pressure testing device. In that case, you can open the angle valve and connect the water inlet for 10 seconds. Once the water volume is above 2.5L, the minimum water pressure of the product is ensured (it can be filled with 5 bottles of 500ml mineral water bottles).
Installation Steps
- Draw the centerline of the drain outlet on the floor, and install the angle valve at a proper position on the wall according to the dimensions of your Chiaro toilet.
- Align the cardboard base with the centerline of the drain outlet, and draw a contour line according to the cardboard size.
- Connect the water inlet and angle valve with the hose and tighten it.
- Assemble the mounting bracket with bolts. Then, install them to the pre-installed flange plate on the ground and lock them tight with nuts.
- Install a sealing flange into the drain outlet.
- Put the Chiaro toilet bowl in the corresponding position according to the contour line. It is recommended to have two people lift the toilet for a safer installation.
- Put the screw through the fixing sleeve and install it through the holes(on both sides of the toilet ceramic) to the mounting bracket on the ground, and lock tight with a tool.
- Put the decorative cap on the fixing sleeve.
Refer to Manual for More Details
For more detailed instructions for Trone Chiaro installation, refer to the User Manual in your package or download it here.