

Installation Guide for Trone Ganza I and II Toilets
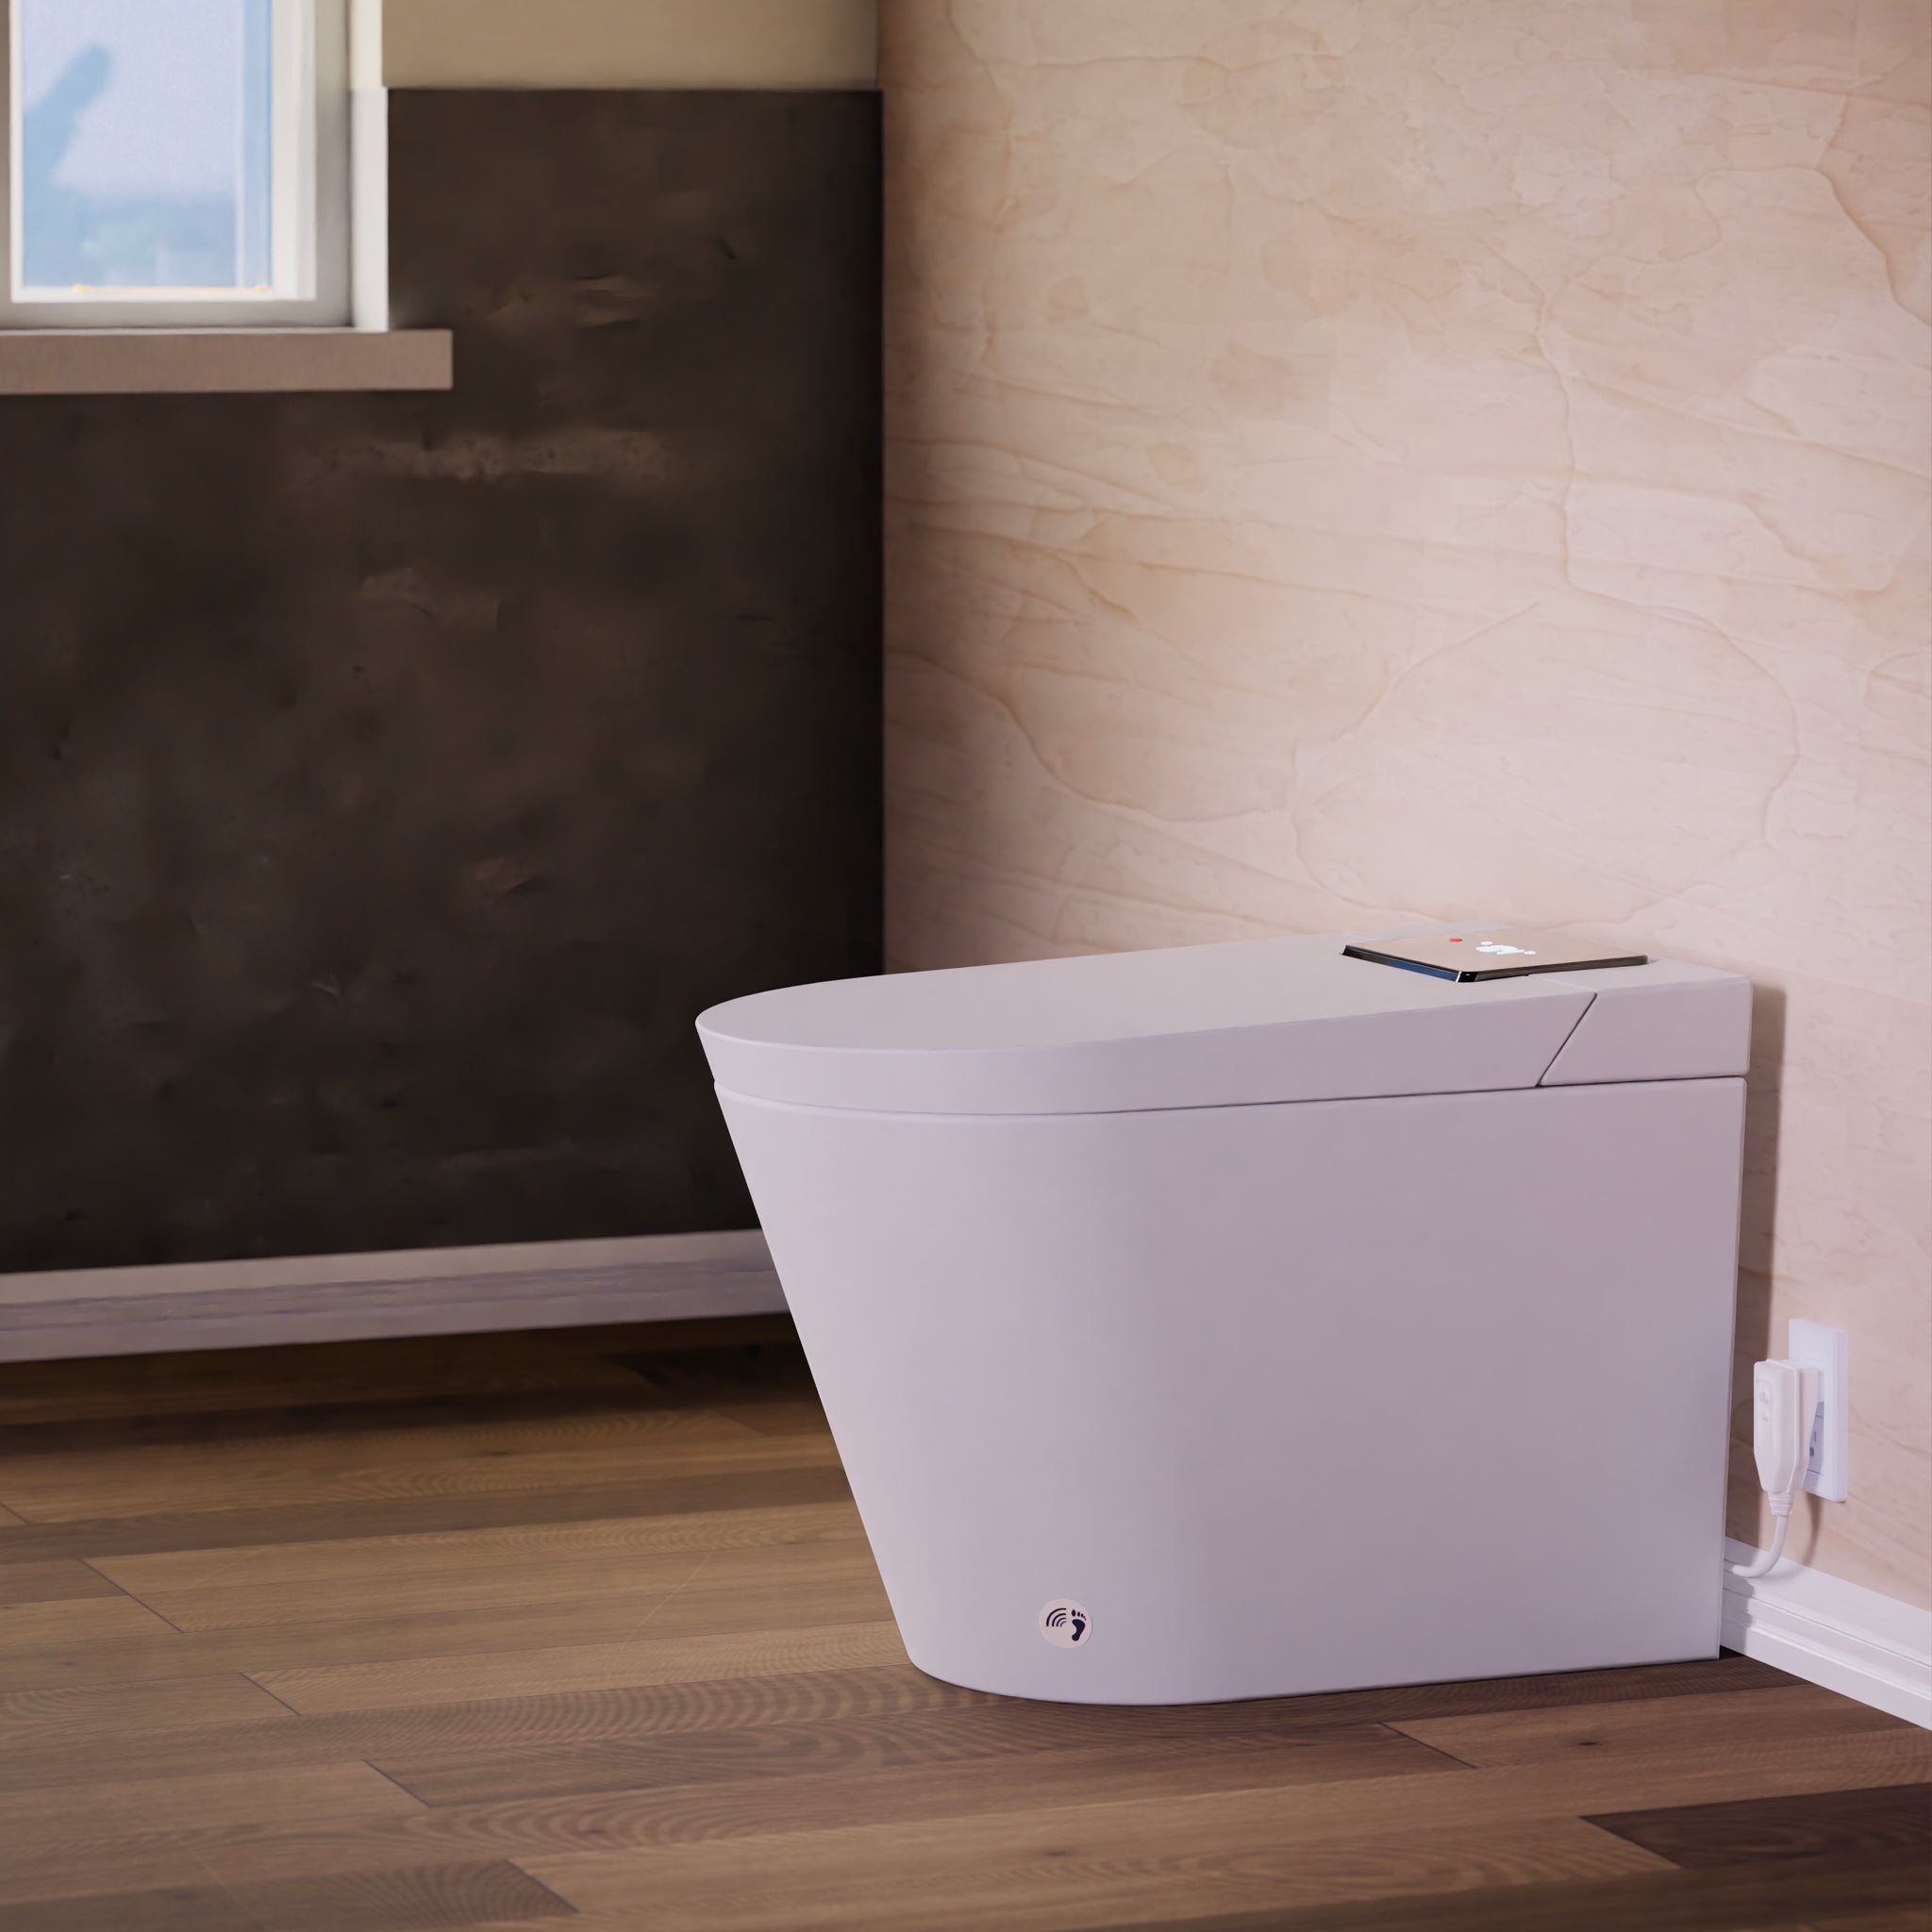
Trone offers excellent bidet toilets that provide a range of features for your bathroom. Installing a new toilet can seem daunting, but with the right instructions and tools, it doesn't have to be. We've got you covered! Below is our comprehensive Trone toilet installation guide, giving detailed step-by-step instructions on installing the Ganza I and Ganza II models.

Installation Condition Requirements
- You need a power supply along the wall near the toilet, and of course, you will also need a water supply. Instead of feeding into the toilet tank, you connect it to the bidet toilet's undercarriage.
- Measure the distance from the closet flange centerline to the wall to get the rough-in.
- The minimum static water pressure should also be 20.31 PSI (0.14 MPa).
- The water supply temperature should be within 41 to 95 degrees Fahrenheit.
- The minimum water flow should also be greater than 5.28 liters (1.4 gallons) per minute.
Step-By-Step Installation Guide
- Place the wax ring over your closet flange, ensuring it's in the center, with the flange down.
- Install closet bolts.
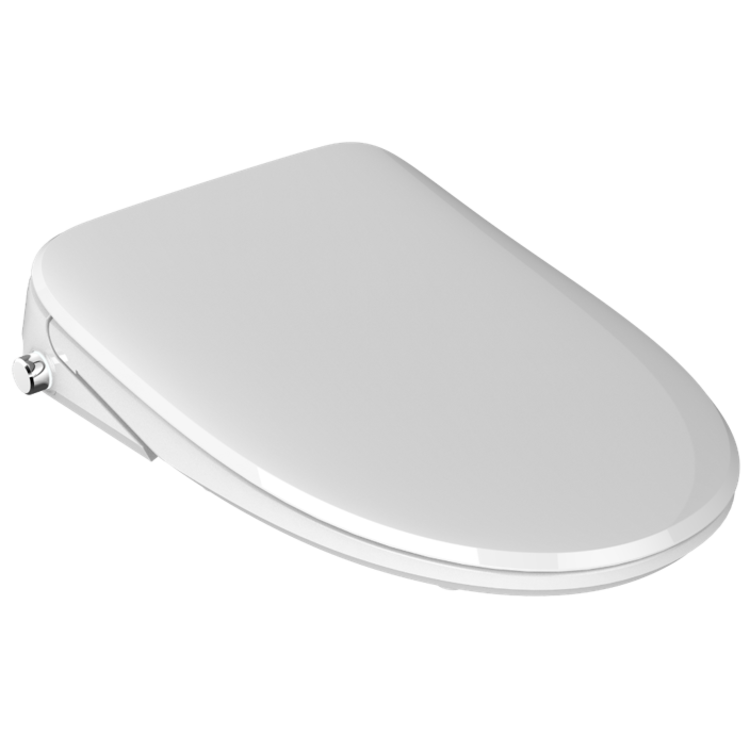
- Remove the Aquatina Bidet Seat from the box by pulling firmly but gently upwards.
- Place the bidet seat across the toilet bowl and ensure it does not get in the way.
- Lift the entire toilet unit and place it over the wax ring. (We recommend having two people do this for balance because of the weight of the toilet).
- Ensure that the holes on the bottom are aligned with the Closet Bolts, and set the bowl in place.
- Secure the bowl by tightening the nuts using a ratchet wrench or a similar tool. (Do not over-tighten because it might crack the porcelain or base).
- Install the special angle valve into the tap water pipe.
- Connect the valve with the inlet hose and open it to check for water leakage.
- Hook the battery pack together.
- Lastly, Replace the bidet seat by lining up and inserting the seat pegs back into the designated holes.
Consult Resources and Customer Service
For more detailed instructions for Trone installation, refer to the User Manual or Guide in your package or download it here.