
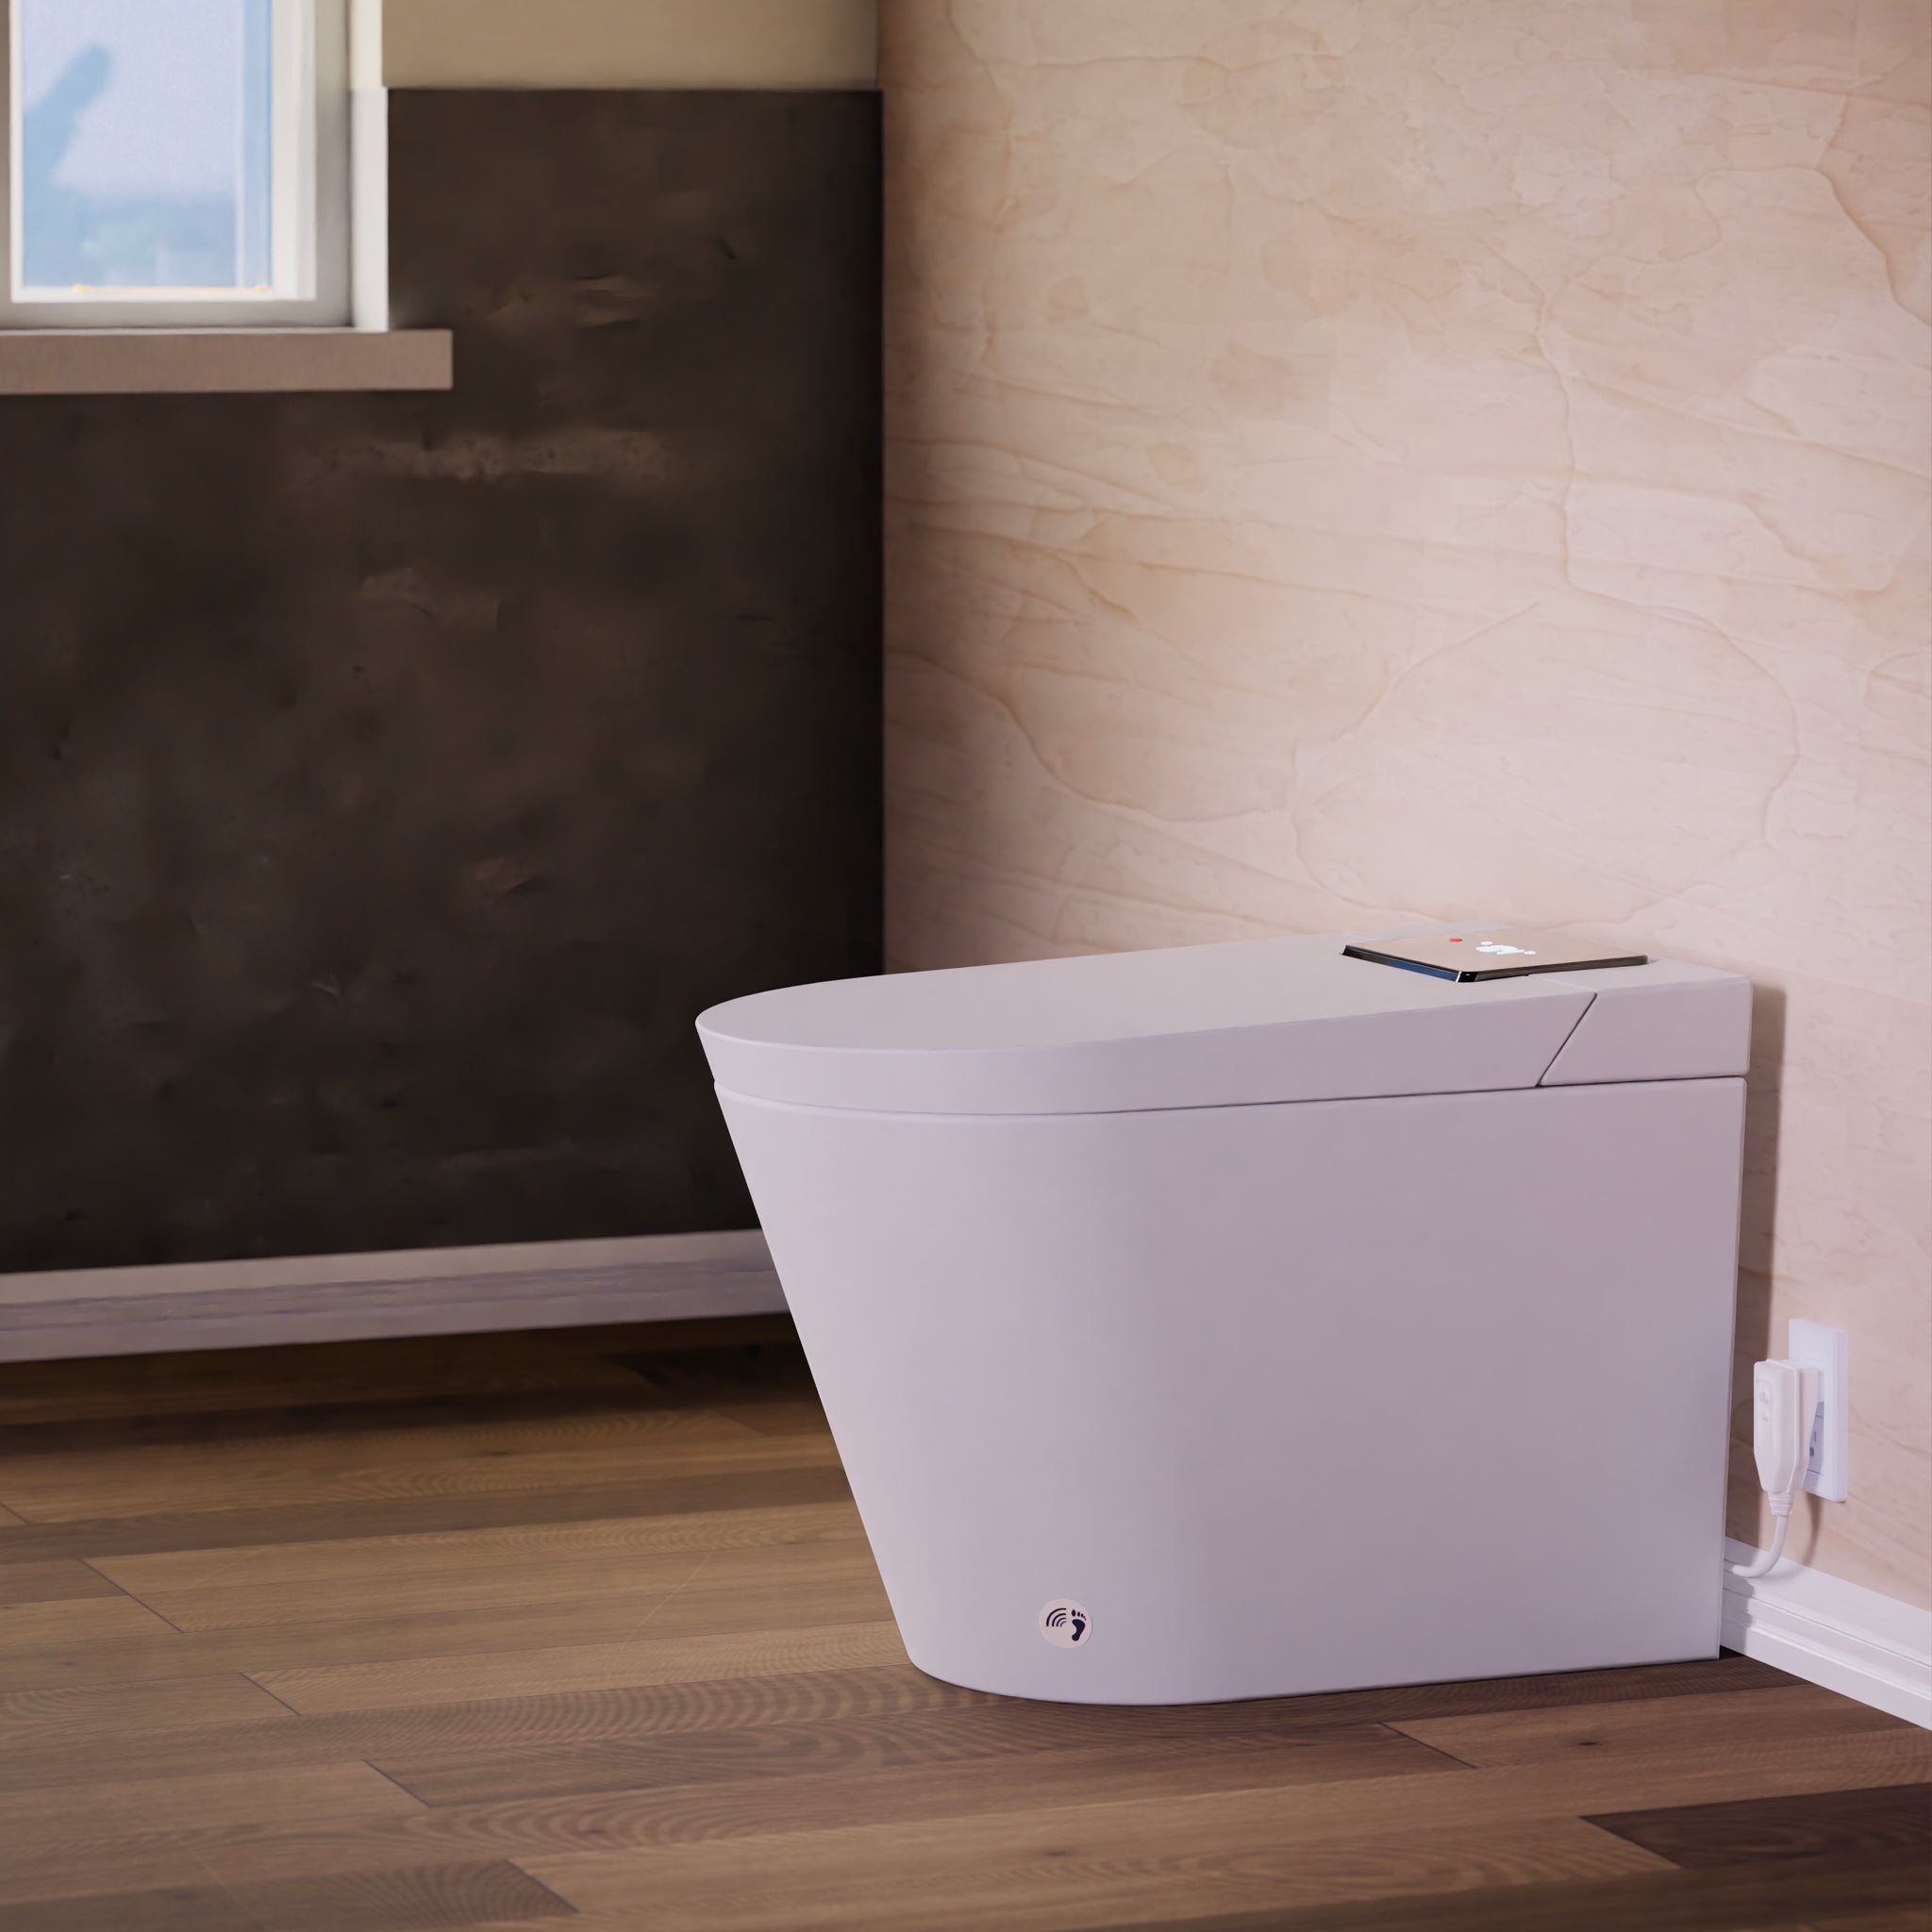

Installation Guide For Trone Tahum Toilets
Installing a Trone Tahum toilet is a straightforward process. You can install the Trone Tahum toilet in hours with minimal assembly. But before you start your installation, ensuring you have all the right materials and tools for the job is important. This Tahum installation guide will walk you through the step-by-step installation process to have your Trone Tahum toilet up and running quickly.

Tools
- Pencil
- Masking Tape or Painters Tape
- Tape Measure or Ruler
- 7/16" Ratchet Box Wrench or Deep Socket Ratchet Wrench
Installation Requirements
- Minimum Static Water Pressure: 40 psi
- Maximum Static Water Pressure: 80 psi
- Minimum Water Flow: More than 1.4 gallons per flush (5.28 liters)
- 115 V power GFCI receptacle within 4'.
Water Valve Installation Guide
Note: The valve supplied with Trone toilets is not a tapered thread and will need one of the options listed below.
Option #1: Retrofit with Water Supply Line (Easiest method)
- Turn off the toilet supply stop.
- Remove the existing 3/8" x 7/8" toilet supply tube.
- Attach the provided 3/8" x 1/2" braided faucet water supply line. (If the valve supplying your water isn't of 3/8" compression, you'll need to find a supply line that can fit on it and adjust it to 1/2" NPT.)
- Finally, attach the provided valve stop to the faucet water supply line.
Option #2: Replumb Water Line Supply To PEX (Not Recommended without a professional)
- Turn the water off to the house.
- Remove your current toilet water supply valve.
- Adapt plumbing to ½" PEX either in the wall or outside.
- Crimp PEX swivel female adapter (provided) onto PEX.
- Attach the provided new valve.
Step-By-Step Installation Guide
- Place the wax ring over the closet flange, ensuring that it's centered, with the flange down.
- Then, install the closet bolts.
- Remove the electronic bidet seat by firmly pulling upwards on the back of the seat until it releases.
- Gently place the bidet seat across the toilet bowl, out of the way, as much as possible.
- Using two individuals, lift and set the entire electronic toilet bidet unit over the wax ring.
- Make sure to align the holes at the bottom of the bowl with the closet bolts already fixed in the closet flange.
- Once you've done that, gently put the bowl in place.
- Place the closet washers that are included over the closet bolts, and tighten the nuts by hand.
- Finally, use a ratchet wrench or a similar tool to secure the bowl by tightening the nuts alternately from side to side.
For more detailed installation guide for Trone Tahum installation, refer to the User Manual in your package or download it here.