
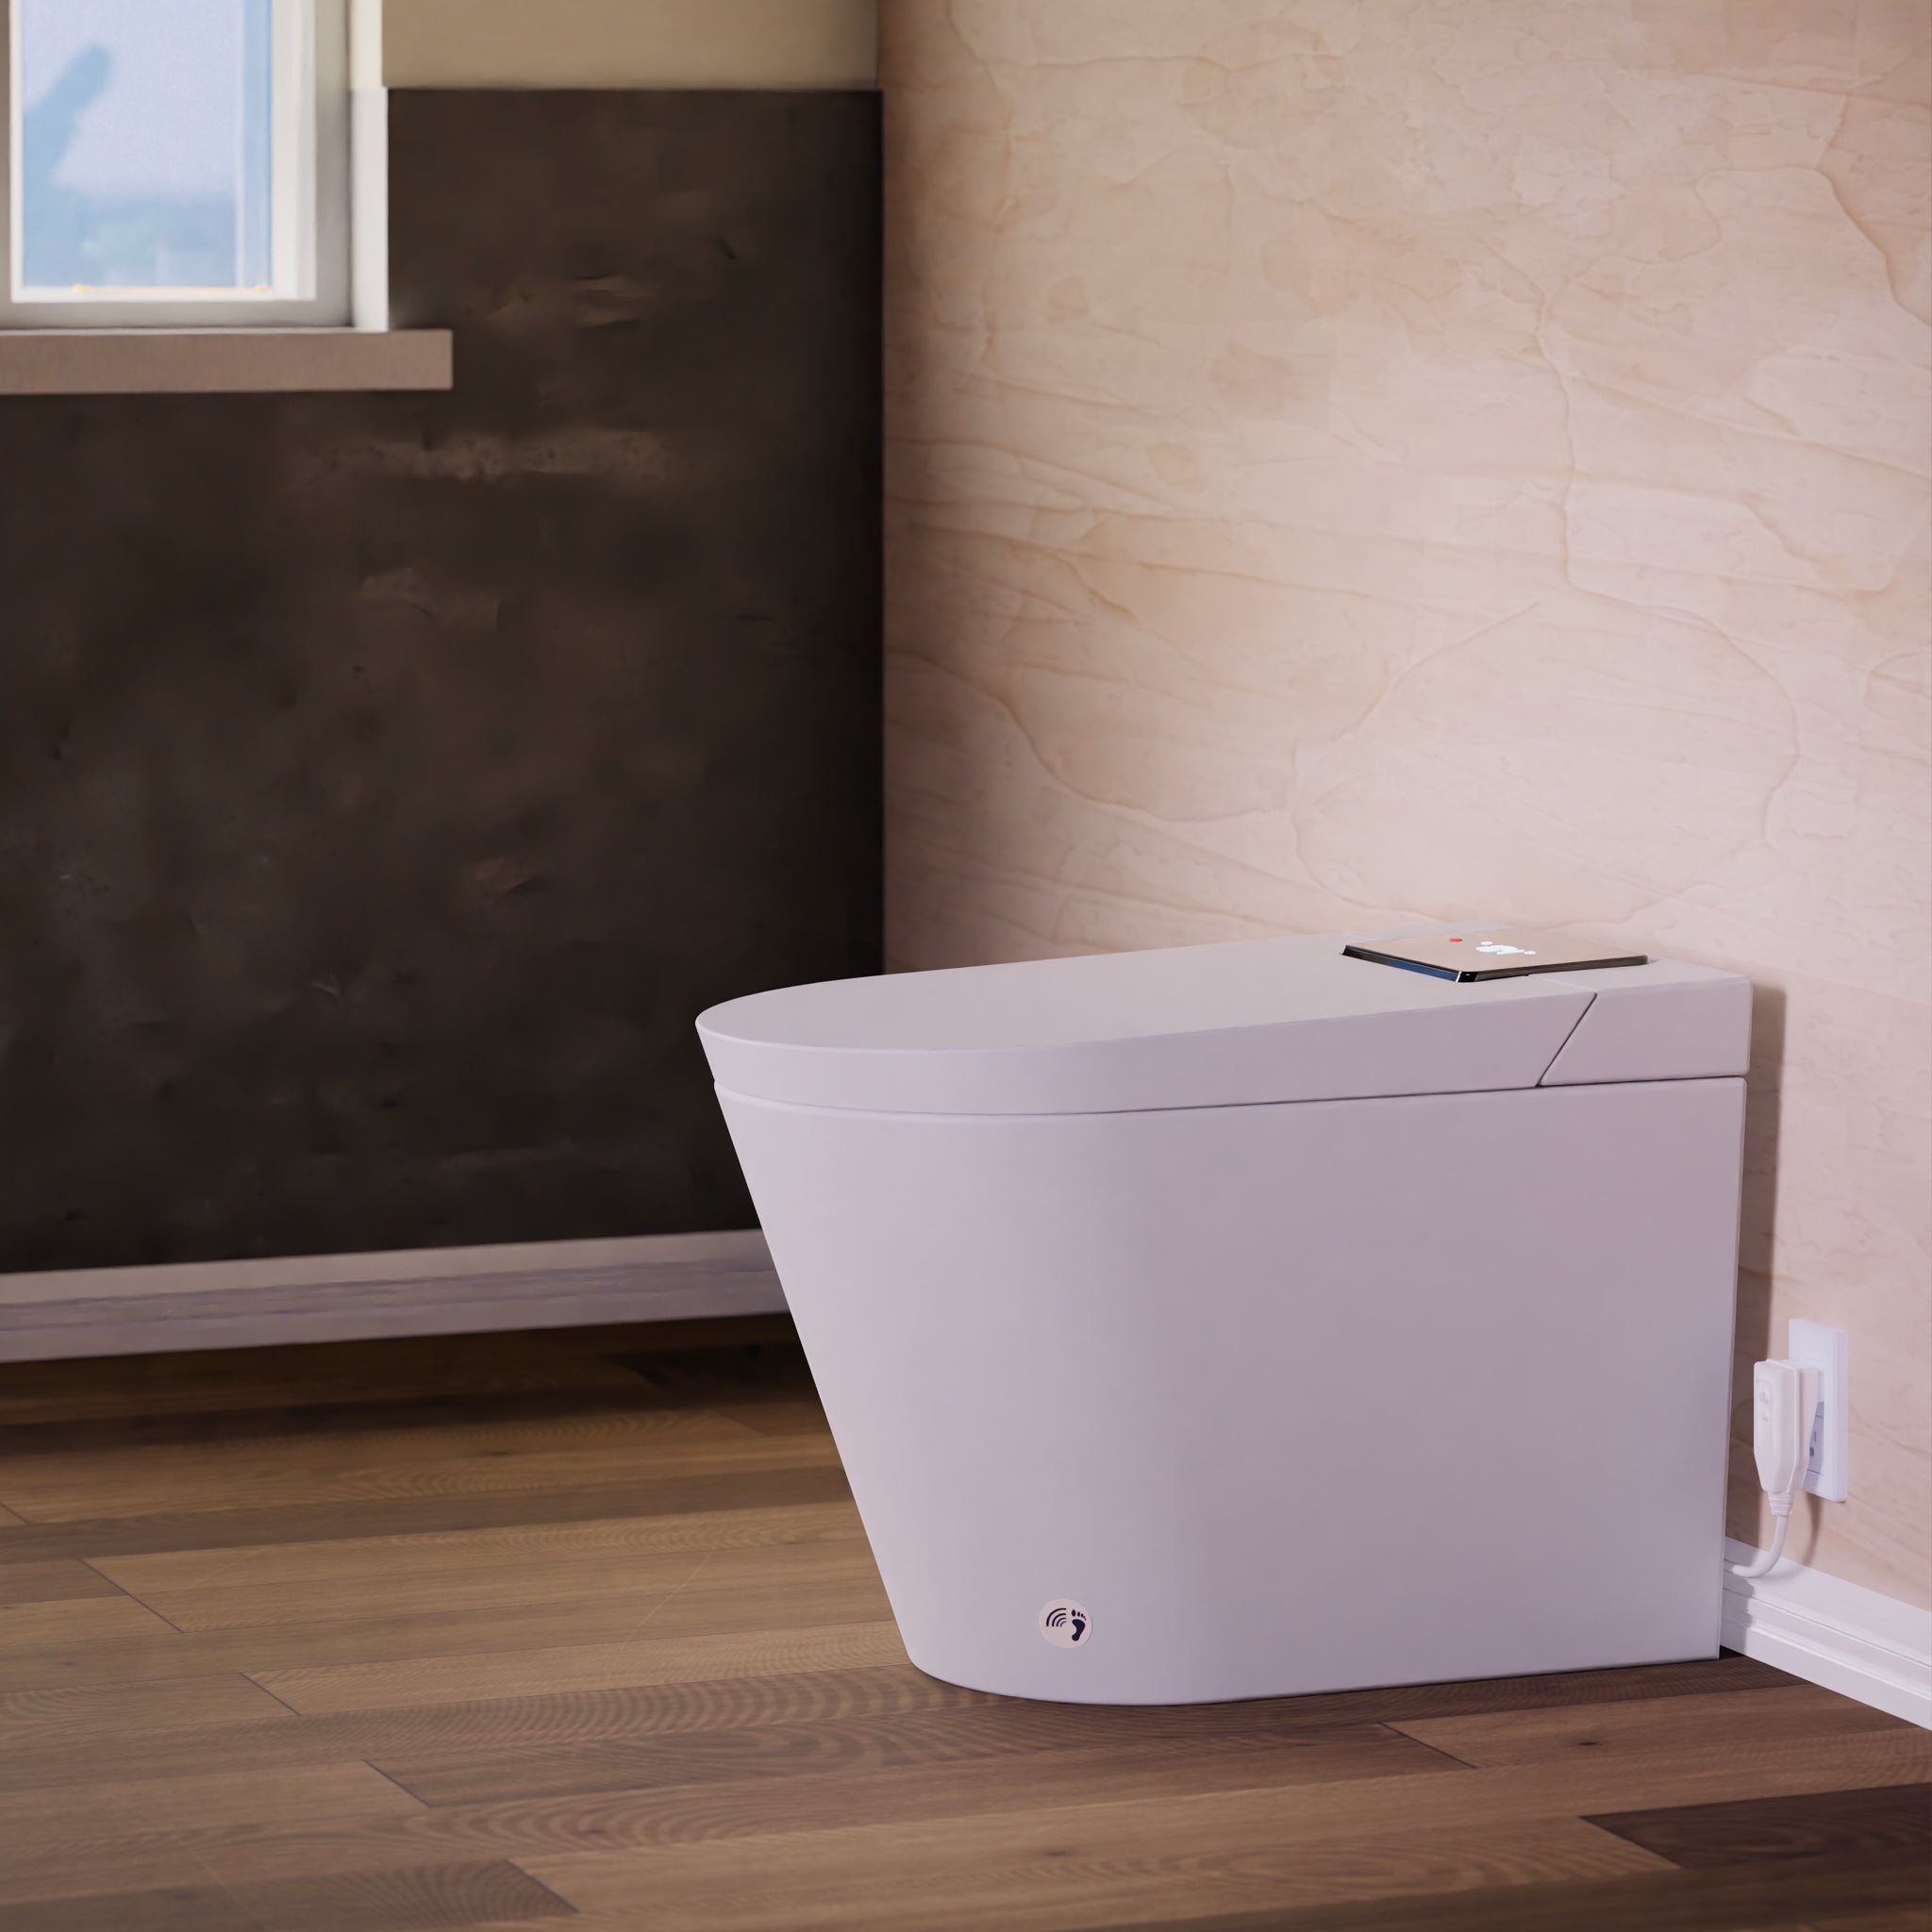

Trone Wall Hung Smart Toilet Installation
Trone's Wall Hung Smart Toilet installation is an excellent way to update the look of any bathroom. This cutting-edge product offers a modern touch and eliminates the need for traditional plumbing fixtures, saving time and money. The installation process is easy so you can complete it with minimal effort.

This toilet installation guide will walk you through each step in detail so you can enjoy the benefits of a smart toilet as soon as possible.
Tools
- Drill (with ¼ drill bit)
- Caulk Gun
- Saw
- Marker
- Tape Measure
- Assorted Spanners
- Wire Stripper
- File
- Assorted Screwdrivers
- Cutter
- Teflon Tape
- Spirit Level
- Ruler
Toilet Installation Requirements
- To ensure a satisfactory flushing effect, it is important to have a minimum static water pressure of 0.08+MPa (8.5L+L/min).
- If you do not have a water pressure testing device, alternative methods exist to check the water volume. One way is to open the angle valve and observe the water volume after 10 seconds. If it exceeds 1.42L, then, you can install it without worrying about water pressure.
- Pass the cord through the wall and then strip the cord to ensure the ground wire is 5mm longer than the neutral wire and live wire.
- Install a power switch.
- Before installing the power switch, ensure that the power is turned off and follow the instructions for the circuit breaker. Please note that the circuit breaker is not included.
Step-by-Step Toilet Installation Guide
- Unpack and confirm the list of materials.
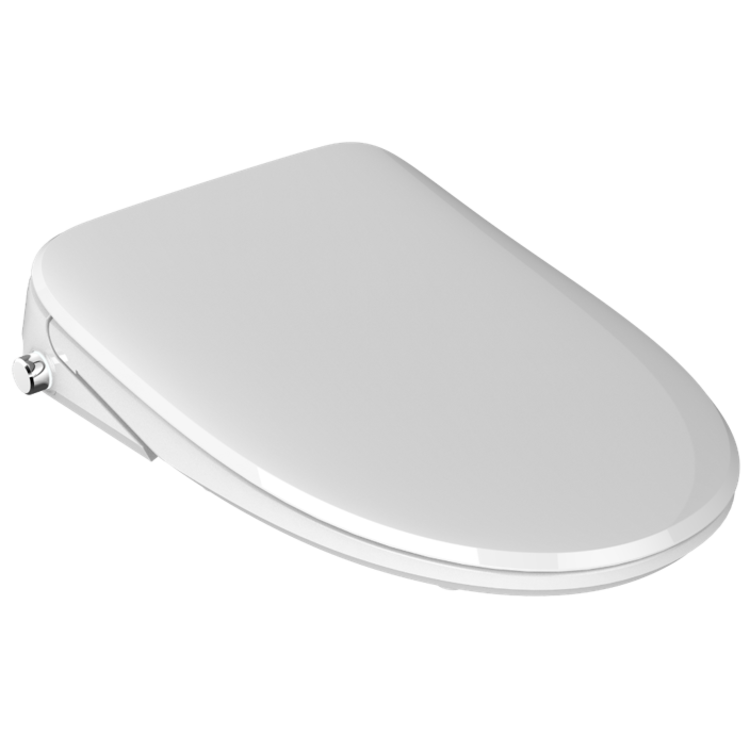
- Then, open the cover and seat, then remove the screws and washers.
- Close the cover and seat, and then remove the bidet. Be careful not to damage the product.
- Measure the flush pipe.
- Cut off the excess pipe.
- Measure the drain pipe.
- Cut off the excess pipe.
- Bevel and deburr the sharp edges
- Apply silicone oil on the cutting surface.
- Then, install the pad.
- Remove the protective sleeve on the bolts. Apply silicone oil on the in-wall flush pipe and drain pipe orifice
- Mount the flush pipe and drain pipe.
- Apply silicone oil on the flush pipe and drain pipe.
- Place the toilet against the wall.
- Pass the water supply hose, off-seat auto flushing cable, and power cord through the toilet.
- Level the toilet.
- Install the washer and tighten the nut.
- Cut off the excess pad.
- Seal the gap around the toilet with sealant.
- Tighten the bidet and toilet connectors. (Connect the bidet and toilet water supply hose with a ball valve. Pass the off-seat auto-flushing cable through the middle of two pipes, and connect it to the bidet cable. Fix two velcro at the following positions. Avoid crossing and overlapping cables.)
- Position the bidet and check the alignment. (Align the hole on the back of the bidet with the ceramic fixing rod.)
- Wrap velcro on the water supply hose and power cord coupler, respectivel
- y, and then stick them to pre-installed velcro on both sides of the toilet. (Open the cover and seat, install screws and decorative caps, and then lock tight.)
- Finally, close cover and seat. Finish installation.
More Help
If you want a more detailed guide, you can find it here. It provides helpful visuals and detailed instructions to make the installation process easier. So don't hesitate to check it out and prepare your bathroom for a modern upgrade!